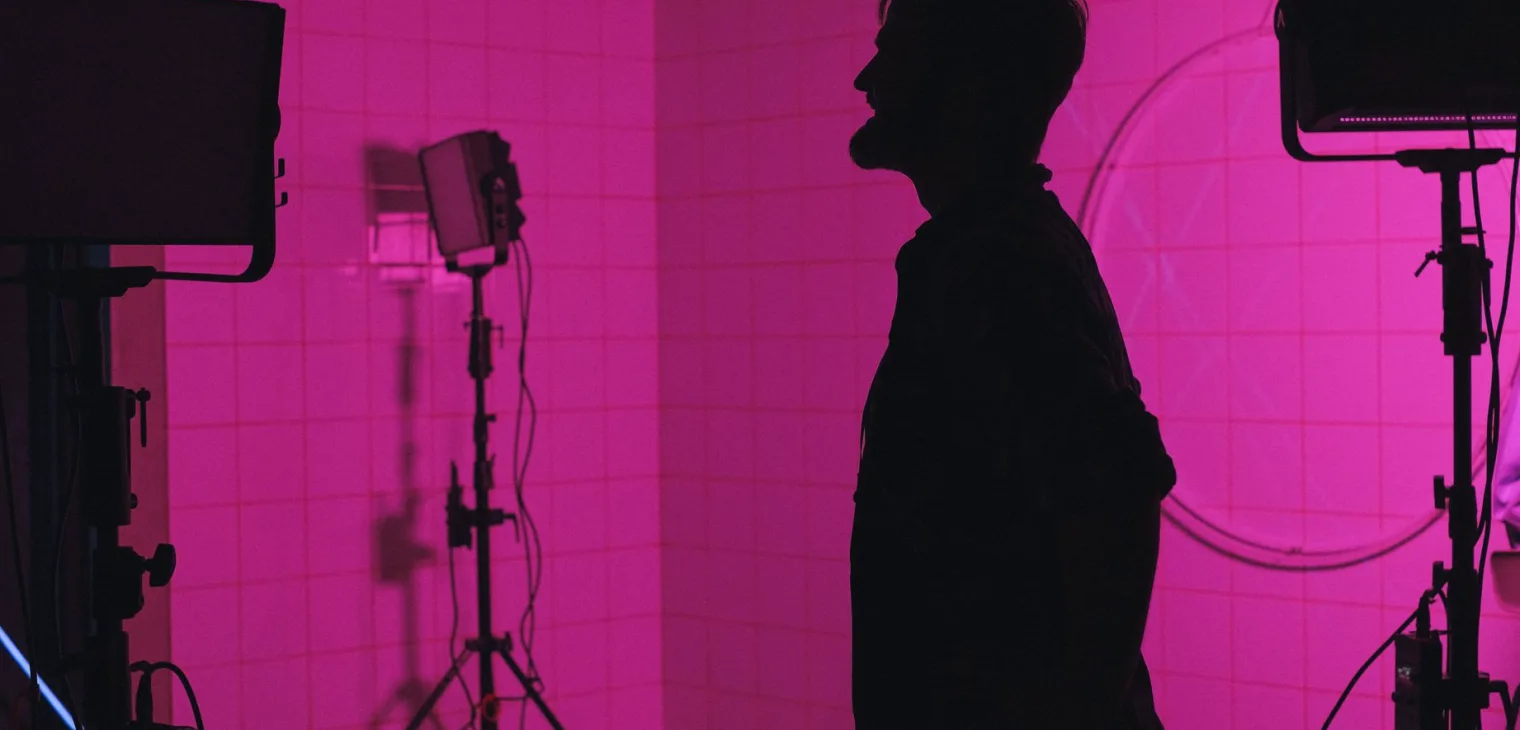
How a Stage Lighting Plan Is Built, From Site Visit to Focus Day
A look at how a lighting plan for a studio set or live stage is put together in practice: the visit, the measurements, the drawings and the long evening of focusing.
It starts with a visit, not a drawing
Every lighting plan we write begins with someone standing in the room. Callum visits the studio or venue before anything is drawn, because a floor plan rarely shows what matters: a low beam, a sprinkler pipe across the grid, a power outlet that sits behind the set. I join some visits when audio and lighting share rigging points, and I have learned to look up before I look anywhere else.
We ask the production team to walk us through a typical programme. Where do the presenters stand, how many cameras shoot, which shots are the widest, and what must stay clear of the picture? A talk show and a live music night can share a room and need completely different thinking.
By the end of the visit we hold photographs, rough measurements, a list of what already hangs in the grid and a clear idea of what the team wants the screen to feel like.
- Ceiling height and grid or bar positions
- Available power and where the dimmers sit
- Set pieces that cannot move
- Camera positions and widest shots
Measuring what the cameras will actually see
Back at the desk, the first job is the camera view. Lighting that looks good to the eye in a room can fall apart on screen, so we work from the lens outwards. We note each camera position, its likely lens range and the area of set it must cover, then mark where the shot edges fall.
Throw distances come next. A fixture that is too close to a presenter gives harsh shadows and heat; one that is too far loses output and needs a bigger unit than the budget allows. Callum keeps a simple table of distances and beam angles for the fixtures a client already owns, since reusing existing kit is often the cheapest improvement.
We also check mixed light. Daylight through a window or a practical lamp on the set will pull colour in unexpected directions, and it is far easier to deal with on paper than on the night.
Drawing the plan and agreeing it in plain terms
The plan itself is a set of drawings: a view from above showing where each fixture hangs, a side view for heights, and a schedule listing every unit with its purpose, power draw and channel. We try to keep these readable by a floor manager, not only by a lighting designer.
Before anything is finalised we send the plan with a short written explanation of the choices. Why the key light sits where it does, why the background is lit separately, what we left out on purpose. Clients often spot a practical problem here, such as a set door that opens into a fixture's path.
Revisions at this stage cost almost nothing, which is why we ask for comments in writing and would rather hear a concern now than discover it with the crew waiting.
- Plan view with fixture positions
- Side view showing hanging heights
- Schedule with power and channel numbers
Working with the budget rather than against it
Lighting plans fail quietly when they ignore money. A design that needs thirty new fixtures is no use to a team with a small hire budget, so we usually draw two versions: one that is right, and one that is right enough with fewer units and some reuse of existing equipment.
We are open about what each saving trades away. Dropping a back light, for example, flattens the picture and makes presenters merge with the set. Using older tungsten units instead of newer LED ones may save on purchase but adds heat, power load and colour drift as they dim.
The point of two versions is to let the producer decide with the facts in front of them. We would rather hand over a modest plan that gets built than an ambitious one that stays in a folder.
Focus day: the long evening in the studio
The plan only becomes light when the rig is hung and focused. On focus day we arrive with the drawings and a stand-in for the presenter, often a colleague or crew member on a stool, and work through the set position by position. Callum shapes each beam with shutters, checks it on camera monitors, and adjusts until faces read well without hot spots on the background.
I watch the audio side of the same evening. Fixture fans, dimmer buzz and cable runs can all reach microphones, and it is much easier to move a lamp or reroute a cable while the ladders are still up.
We note every final setting on the schedule, mark floor positions with tape and save the desk state, so the next crew can rebuild the look without us standing beside them.
- Stand-in on each presenter position
- Camera monitor checks beam by beam
- Settings written onto the schedule
What we leave behind for the crew
A lighting plan is only useful if it survives the first change of crew. Before we leave, Tom helps turn our notes into a short guide: a one-page diagram, the cue list, and instructions for the few adjustments the team will realistically need, such as warming the background for a different programme.
We keep the language plain. Nobody should need to phone us to know which switch brings up the morning look. Where a fixture is awkward, we say so and describe how to reach it safely.
A few weeks later we often hear how the rig is holding up, and small tweaks are normal. A good plan expects the room to change a little over time.
A stage lighting plan is mostly careful looking, measuring and agreeing, with the actual focusing as the final step rather than the main event. When the visit is thorough, the drawings are clear and the budget is discussed openly, the evening in the studio becomes calm work. These mid autumn weeks, with new seasons of programmes starting, are a sensible moment to look at your own rig before the schedule fills.